Friday, December 7, 2012

12 Projects: Mini Trees


Everyone loves mini things, right?  I know I do.  For today's project I decided to make a bunch of mini Christmas trees to add to my holiday decor.  I decided to make two types of trees: pine cone trees, due to the sheer number of pine trees in my town, and some simple cone shaped trees out of cardboard.


Supplies:
Pine cones! I ended up finding three different kinds. I love the giant ones.
Fabric scraps.  I ended up using scraps from the pillow project and my Halloween costume
thin cardboard: I used recycled boxes
ribbon/sparkly trim
pom poms
glitter
glue
tape
paint


Cut out your pattern and trace it on to your cardboard. You can also print the pattern out directly onto card stock and use that as the base.  


 Fold over the tab on one side.  If you put tape on the inside of the tab facing out, it will make it easier to tape the cone closed.   Depending on the thickness of the cardboard, you may have to coax it in to the cone shape.

Cones!


I laid the pattern out on my fabric and cut around it to get the general shape.  This allowed me to center the cables, and is useful for any fabric with a directional design.


I smeared tacky glue all over the center of the cone and lined it up on my fabric.


I glued the fabric one third at a time, so i could keep the cables lined up and pull the fabric tight.


If you have binder clips or clothespins, you can use them to hold the fabric closed while the glue dries.  I didn't have either, so I just used more tape. I used double-sided tape to hold the fabric down on the inside, but you can just trim the fabric to meet the bottom of the cone.


On one of the cones, I laid out lines of double sided tape and wrapped it with this tinsel gift ribbon. You could do this with any kind of ribbon or trim, and this version is super easy!


My cone trees!

The pine cones were super simple!


This large one was decorated with little pompoms, attached with, you guessed it, tacky glue. 


The other big cone was painted with glue and sprinkled with the big red and gold glitter.


Just like the big glitter cone, the two white cones were painted with glue but this time sprinkled with leftover epsom salt from the last project.  I painted the edges of two of the smaller cones with gold and green paint.


My collection of mini trees really helped to round out my bartop display!  You can also see my hurricane snowstorms in their final resting place. The sparkly trees reflect the white lights really nicely!

You can easily make both of these projects your own.  They lend themselves to all kinds of creative embellishment.  You can easily make the cones bigger and smaller to fit your decor.

Are you guys decorating for the holidays?  Have you tried any of my ideas?  Let me know!  Drop me a link to your projects!

Missed something? Check out the rest of the 12 Projects of Christmas!


Wednesday, December 5, 2012

12 Projects: Hurricane Snowstorms


Hello! Today's project is a pretty simple one, and you could do this yourself using only dollar store items!  I made these little hurricane glasses a few months ago using candle holders and vases from Dollar Tree, glued together with E6000.  I thought I would set up a few little snowy scenes to add to my winter decor, without creating an elaborate christmas village.  This craft also keeps my snow contained, which is great when you have pets (or children!).  You could do this using your own hurricanes, vases, apothecary jars, or just recycled food jars!


Supplies:  
Hurricane glasses
Holiday ribbon 
Little trees (bought on clearance after last Christmas)
Holiday village miniatures (3 pack from Dollar Tree)
Epsom salt
double sided tape (not pictured)


First, I set up little scenes in each of the glasses.  I don't want my arrangements to be permanent, so I didn't use any glue to hold them down.  If you have decorative items that aren't staying put, you could always use poster putty to get them to stay put temporarily. 


Once I was happy with my scenes, I poured some epsom salt in each glass, directly over top of my trees and people.  This would be great for kids, and it was actually a lot of fun making it "snow" in each glass.  I poured in enough to cover the bases of the figurines.  


Because I poured the salt right on top, it stuck in some of the tree branches like snow.  I love this look.  


I cut a few pieces of ribbon to further decorate the jars, and attachedm them to the glass with little bits of double sided tape.  The ribbon sticks to the glass well if you apply a bit of pressure.


I chose the ribbon location based on the shape of each glass. 


They don't all "match", but i think they turned out really cute.  Because the candlestick bases are heavy, i'm not worried about them being tipped over.  But even if they are, the epsom salt will vacuum up easily. 


These scenes are going to be a part of my Christmas bar decorations, which is still a work in progress.  

Have you guys started decorating yet?  Do you set up a giant Christmas village? Do your pets ever attack it like Godzilla?

Getting ready to host a big holiday party?  Kristi(e) at Ye Olde Fortress of Awesome has started up her 12 projects series with some adorable drink stirrers! 


Hope you are all having a great December!  Keep it merry!


Missed something?  Check out The 12 Projects of Christmas.


Sunday, December 2, 2012

12 Projects: Glittery Candles


I love how, in recent years, glitter has become such a big part of Christmas decor.  I've always loved twinkly lights, and some glitter provides a great reflective surface.  For this project, i wanted to try out something i'd been seeing around Pinterest for the last year or two.  I decided to try out making glittery candles.


 One of the popular Pinterest "tricks" is to use double sided tape stuck to the side of the candles to keep the glitter on.  I tried this on one candle.  However, It didn't occur to me that I would have problems getting the double sided tape to sit flat on tapered candles.  Since I didn't want to spent any extra money, I just tried to make it work. 

I used permanent double sided tape and Martha Stewart glitter in yellow gold. 


You can also see that the glitter clings to the wax of the candle.  I had to wipe it off with a paper towel.  Even more mess.  Pinterest lies, this is not a no-mess easy way to make things glittery.  Very messy.  I love the look of the superfine glitter, but it really gets absolutely everywhere.
  

While I was in the midst of getting glitter everywhere, I figured I would try out another popular craft trick: mixing glitter with modge podge.  This was a little more effective...and slightly less messy.  I mixed it together on a plate and painted it on.  


I dipped this candle into the modge podge and rolled it in glitter.  This one turned out super glittery and dense. 


I also used some silver glitter paint I had lying around. I dipped a few of the candles directly into the paint.   I wasnt sure how to dry them, and sadly  the paint stuck slightly to the plate they were resting on and peeled off.


The glittery on these is very thin, not as dense as the other ways.


My favorite candle resulted from mixing some of the loose glitter with the glittery craft paint. I painted it on thick, and tapped the base on the table to encourage the drips.   

 I was miraculously able to get it to stand upright on the table for 24 hours.  I have no idea how the cats didn't knock it over. 


I don't know how burnable these candles will be (the glue, paint and glitter may make some interesting toxic fumes) so I think these will just be for decoration.   I don't have a specific arrangement in mind, so we'll see where they end up.  


Have you tried any Pinterest tricks lately? Wanna check out some other things I've pinned?  Follow my Christmas board on Pinterest! Happy crafting! 


Missed something?  Check out The 12 Projects of Christmas.


Wednesday, November 28, 2012

12 Projects: Advent Calendar


As a child, I always loved the chocolate filled advent calendars.  I remember waiting patiently for one each year, and managing to have the willpower to not eat all of the chocolate at once!  It combined the exciting countdown to Christmas Day with the reward of chocolate every day. As an adult this is slightly less exciting, as I can eat chocolate whenever I want, but there is something about the countdown that has stuck with me.  Instead of buying a paper calendar with cheap chocolate shapes, I decided to make my own holiday countdown.


The crafty blog world is full of advent calendars this week. There are some amazing ideas out there, especially for calendars that include a daily treat.  Since I don't have any children around, I went for a simple, grown up, activity based approach, using supplies I already had around the house.


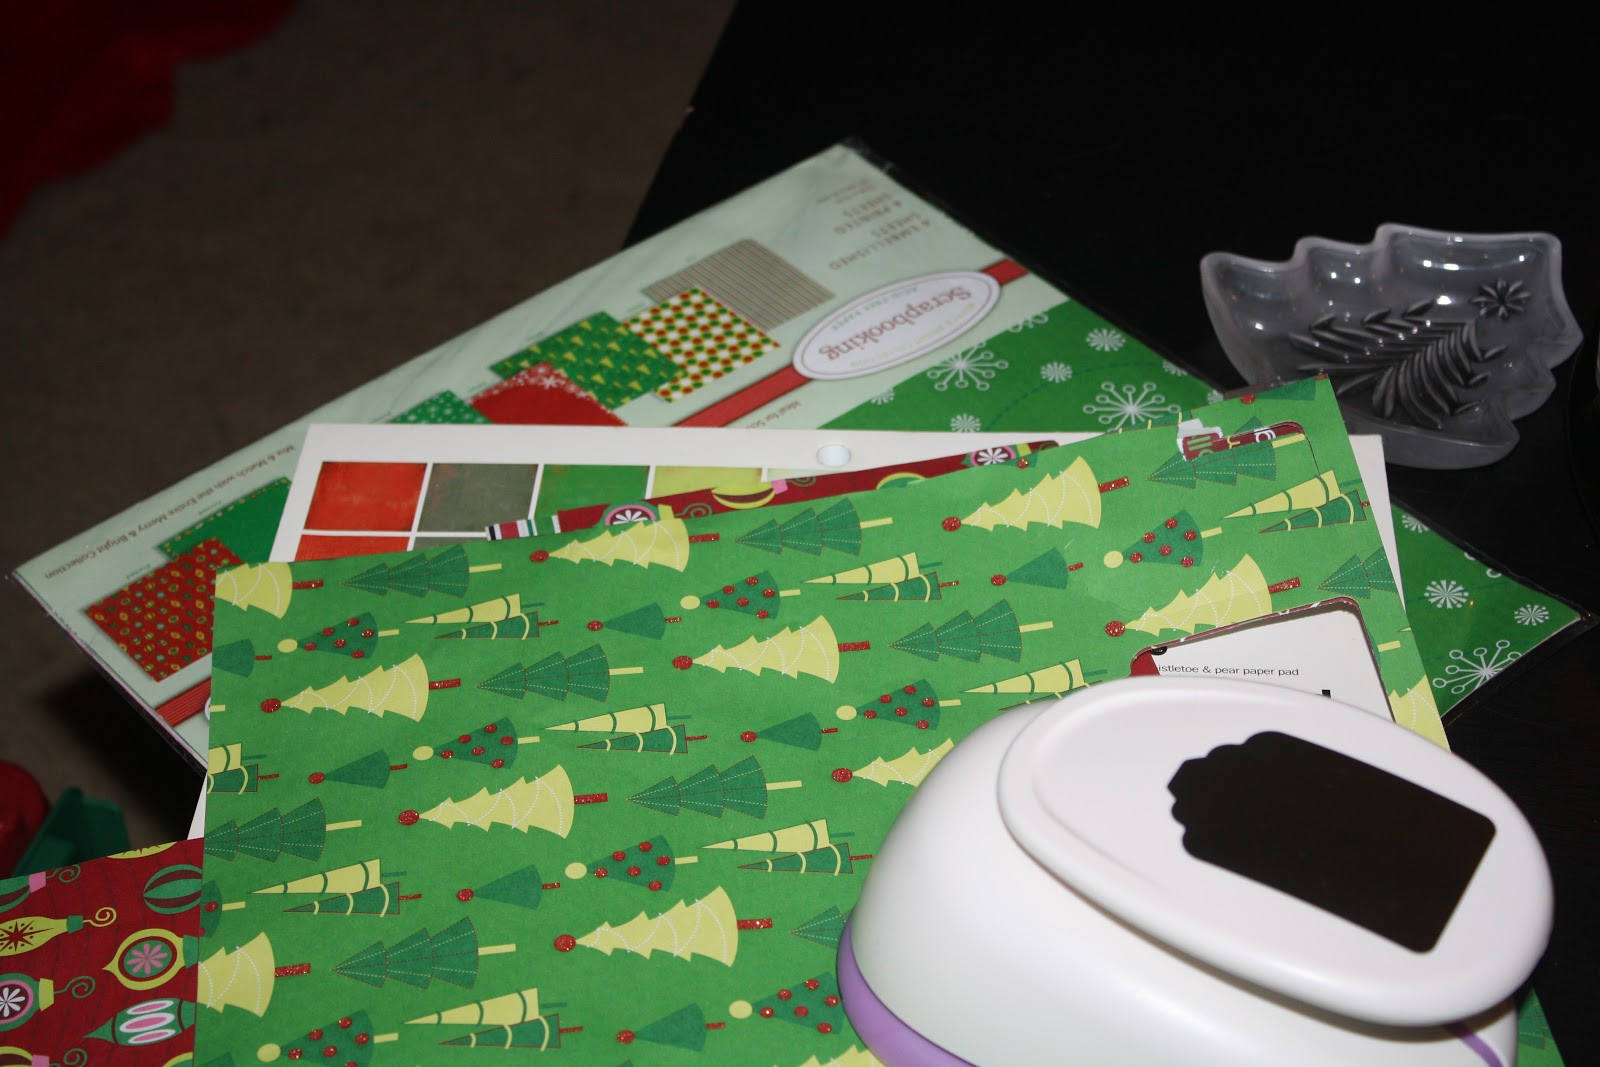
I raided my fun paper stack for holiday papers.  I have a few packs I picked up on clearance after the holidays in past years.  I already had the paper punch, but it was bought on sale at Michaels awhile back. If they arent on sale, paper punches are a great item to use those 40 or 50 percent off coupons on.


 I punched out way more than I needed, so I could display different papers and mess with the organization.


I cut out a special tag for Christmas Day.


I would have loved to stamp the numbers in gold, or even just used a silver sharpie, but I was determined to make this calender with only stuff I have on hand.


I flipped them over, and wrote different activities on the back of each.  I included local events I wanted to attend anyway, like a holiday flea market or craft fair.  I also put down things I love to do during the holiday season, but often forget, like ice skating!  And yes, I looked up my local rink to make sure there were skating times that day.  


I stuck my tags to an empty part of my wall using removable double sided tape.  If you wanted your calendar to be a little more interactive, you could keep all the tags in a box, and put them up as each day passes.  


I like how all the papers go together, and how easily it dresses up my wall.  I hope this little calendar inspires me to make the most out of the holiday season!


I hope you are enjoying the 12 projects of Christmas!  Want a sneak peek at what's next?  Follow me on instagram as sirensfall, I've been posting random shots as I work on each project!


Looking for more holiday cheer?  My good friend Kristi(e) over at Ye Olde Fortress of Awesome has decided to undertake her own 12 Projects of Christmas.  She is focusing on papercrafting and party planning, activities she excels at!  

Are you feeling inspired too?  If you've decided to start your own 12 projects series, leave me a comment, and I'll link it up!


Missed something?  Check out The 12 Projects of Christmas.

Monday, November 26, 2012

12 Projects: Holiday Pillows


For my first project, I decided to dress up my couch for the holidays!  I already have a red couch, so it made a great starting point. I've been planning to do some pillows for everyday, but with Christmas right around the corner, I figured I would go for some with holiday designs first!


These three pillows are made from old sweaters. I cheated a little here, and bought them from a thrift store.The green one is children's, and the other two are adults. I chopped off the top halves, and stitched up the sides.


I cut shapes out of felt and glued them to the sweater pieces with Fabri-Tac. 


After letting them dry, I secured each shape with embroidery thread and a blanket stitch. 


This reindeer is probably my favorite.


 Trees!


I had some sparkly felt in my stash, perfect for tree ornaments. I used a chain stitch for the "strings".            

                             
I also made two pillow covers for my regular couch pillows from an old curtain, painted with silver and glitter paint. It had been sitting in my closet waiting for the right project.  I made two very basic envelope backed pillow covers. You can find directions for making pillow covers here, at Martha Stewart.  


  My painting skills leave a lot to be desired, so I went with a simple snowflake design.  It is definitely not perfect, but the covers turned out pretty cute!

Please forgive my blank wall!
 I hope you enjoyed project number one!  See you later this week!


Missed something?  Check out The 12 Projects of Christmas.


Wednesday, November 21, 2012

12 Projects of Christmas

Guys, I really love Christmas.  I always have.  I love the sparkly lights, the yummy smells (pine! cinnamon!), the food, the family time....everything!  Since Halloween ended, I've been waiting (im)patiently for it to be time to put up the Christmas decorations.  Don't worry, I still have fall stuff up for now, but as soon as Thanksgiving is over, I'll be switching it out.  I have a lot of decorations I've gathered through the last 5 years or so, but I always want to add something new.  As a bonus, this year i'm decorating a new space.  I've been wandering the aisles of some of my favorite stores, gathering ideas.  And, in an effort to blog more (and make sure I actually finish these projects) I am making myself accountable to you fine people.


My goal is to complete all of these and share them with you in plenty of time for us both to enjoy them for the holiday. Here is the lineup! 


11. Creative packaging

12. Christmas cocktails


After each post goes live, the list will become links, so you can find everything in one place! I'll also be linking up some ideas from other blogs and websites. One of my biggest goals here is to craft from my stash, so i'm hoping to spend minimal money on these projects.

Look for project number 1 coming soon!


Monday, November 19, 2012

Pressure to be Perfect

We've all seen those blogs, where the living room is immaculate, every project gets finished on time and the children are cheerful and posed perfectly for pictures.  Is that your life?  It certainly isn't mine.   

There is a definite pressure on bloggers to present a perfect life.  A sparklingly clean home, well behaved children, and stylish outfits every day.  But this pressure doesn't come from outside sources, but from ourselves. Sure, there are plenty of bloggers who look like they live perfect lives.  I am sure their houses are mostly clean and their children are usually good, but no one is perfect.  Everyone has a sloppy jeans and hoodie day.  But blogs are, in many ways, taking the place of magazines.  In some cases, they have even become a business of their own, using multiple writers to carefully curate the picture of a perfect life.

 I would love to be able to make it look like I live in a magazine.  I would love to tell you that there isn't currently yarn all over my couch (Wise Craft's granny square sampler), and that my cutting table isn't covered in fabric and other craft supplies.  I wish I were wearing a blogging worthy outfit, but instead, I am still in my PJs.  This is what my life looks like right now.  I don't think it will ever be magazine worthy.  But i'll keep striving for it.  And i'll blog about it, out of honesty, I suppose.   I've been blogging/online journaling for roughly 15 years (pre livejournal, guys), and as i've grown up, so has the world of blogs.  It has grown from a community sharing the details of their lives to something more public, less personal.  But guess what, bloggers.  Readers still want to see you in your blog, not just the life you've made to present to us.  It helps to remind us you are real people, just like us.