


Since I purchased my slim tree, I've used a number of different things for tree toppers. I've used a dollar store twig star, a wire reindeer, and various other home made solutions. In short, i've been too cheap to purchase a store bought topper. As I mentioned in the post about glittery candles, I'm really into the glitter trend that has been adding to Christmas sparkle, and I wanted to bring that to my tree topper.

My homemade, stash supply using, sparkly star tree topper!
Supplies used:
Cereal Box
Tacky Glue
Modge Podge
craft glitter (large and fine)
Felt
Scissors, paint brush and a Sharpie. I realize I leave these basic tools off the supply lists a lot. I imagine you lot are bright enough to cut things with scissors, but perhaps I should be more thorough? Thoughts?
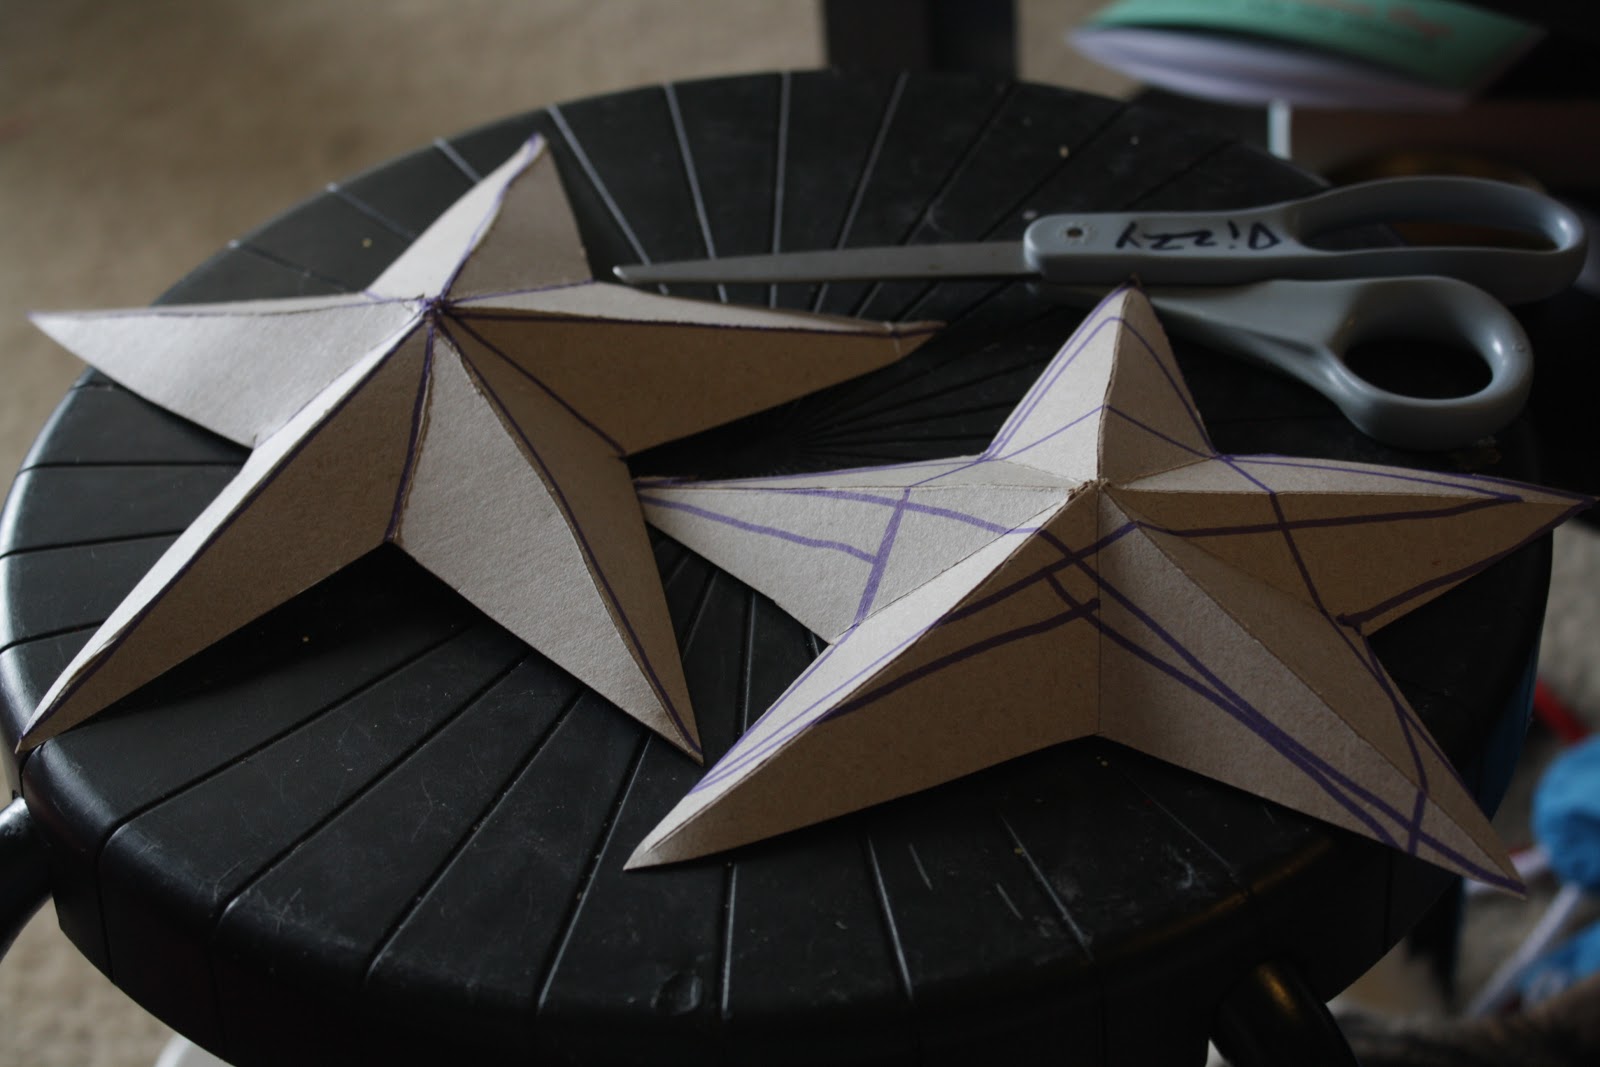
I followed this tutorial from The Glue Gun Girl to make cardboard stars out of a cereal box. I had a really hard time drawing an even star, but I kind of like that my stars turned out imperfect. If you need a perfect star, she links to some free star templates. You don't actually need two for this project, I figured I could use the second one elsewhere.

Instead of painting a solid color, I mixed Modge Podge with glitter. I started out with the same big gold glitter I used on my pinecone mini tree, but the spaces between the glitter flecks were too big, so I added a bunch of the Martha Stewart glitter in yellow gold and bronze.

I painted it on my stars! I was a little worried that the modge podge would get rid of some of the sparkle, or wouldn't cover the purple sharpie lines, so I laid it on pretty thickly. I left my stars to dry overnight.

For the tree topper base, I made a cardboard cone using my mini tree tutorial. I covered it in green felt, so it would blend in to the green tree.

My star after drying. Still sparkly, and not shedding glitter. Success! I did have to refold all the creases, as the weight of the modge podge flattened the shape a bit and made the cardboard a bit rubbery.


I put glue on the tip of the cone and stuck it to the back of the star. I also cut a little rectangle of felt, smeared it with glue, and wrapped it around the top of the cone and flat against the inside of the star.

I let this dry for a few hours, glittery side down.

The star in it's new home on my tree. I find it's imperfections charming, and a lot more me than something perfect.
What do you guys top your tree with? Where do you stand on the Angel/Star debate, or do you go with something entirely different?


